How to Clean Weed Grinder
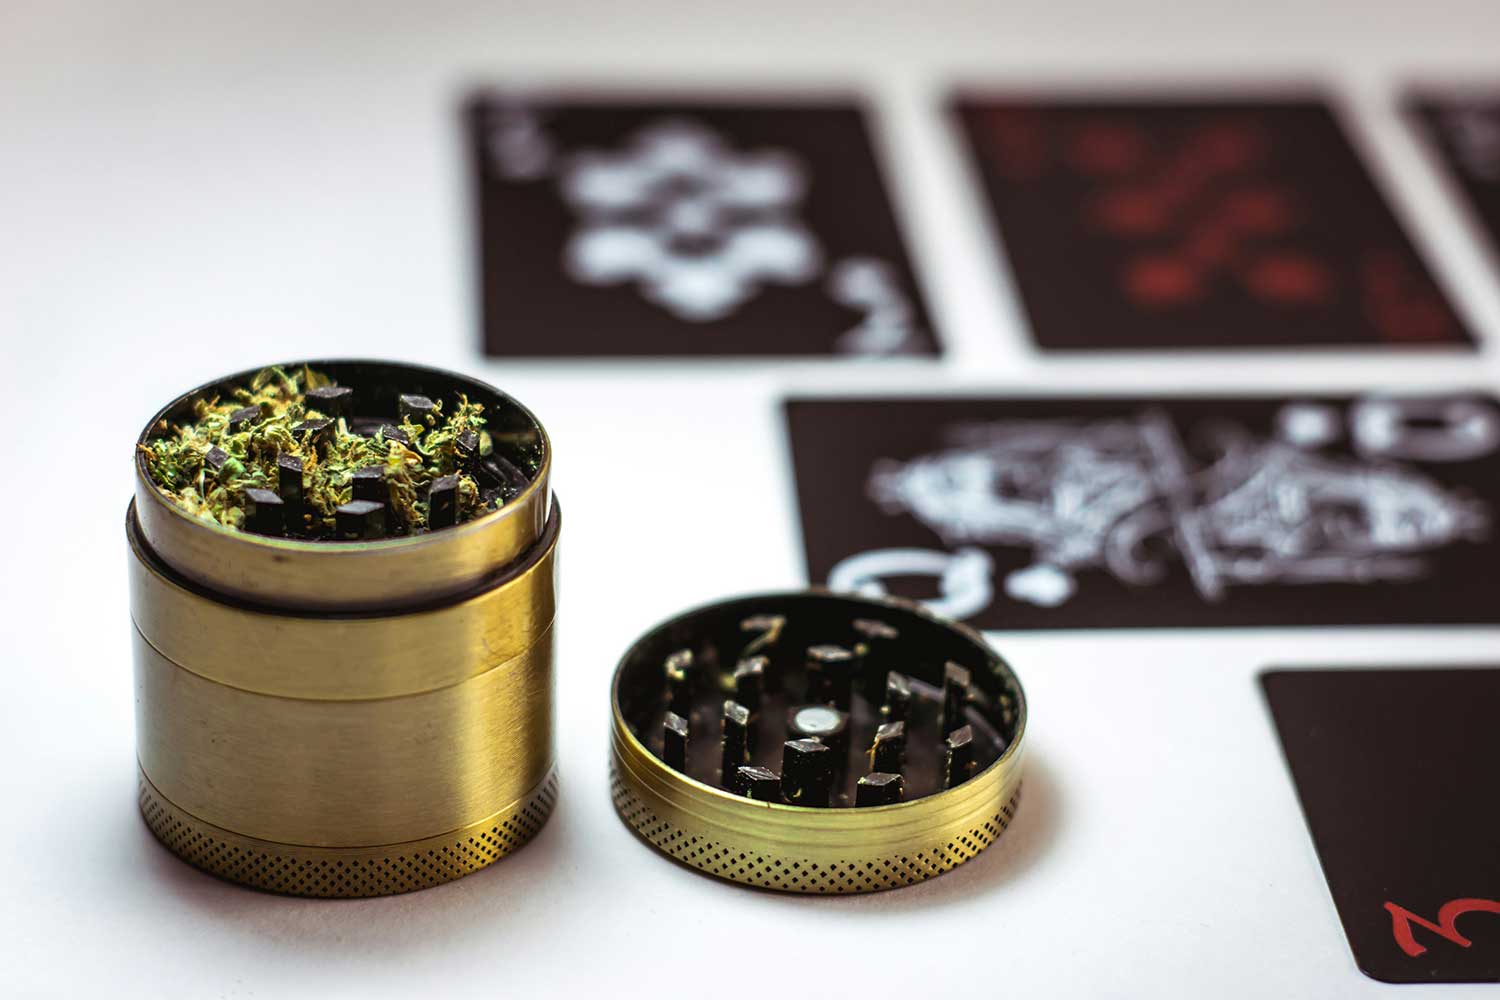
Welcome, cannabis enthusiasts, to the ultimate guide on how to clean your weed grinder – a journey from sticky to sparkling. We’ll dive into the nitty-gritty, and by the end, you’ll be wielding a gleaming grinder ready to deliver a clean and consistent grind.
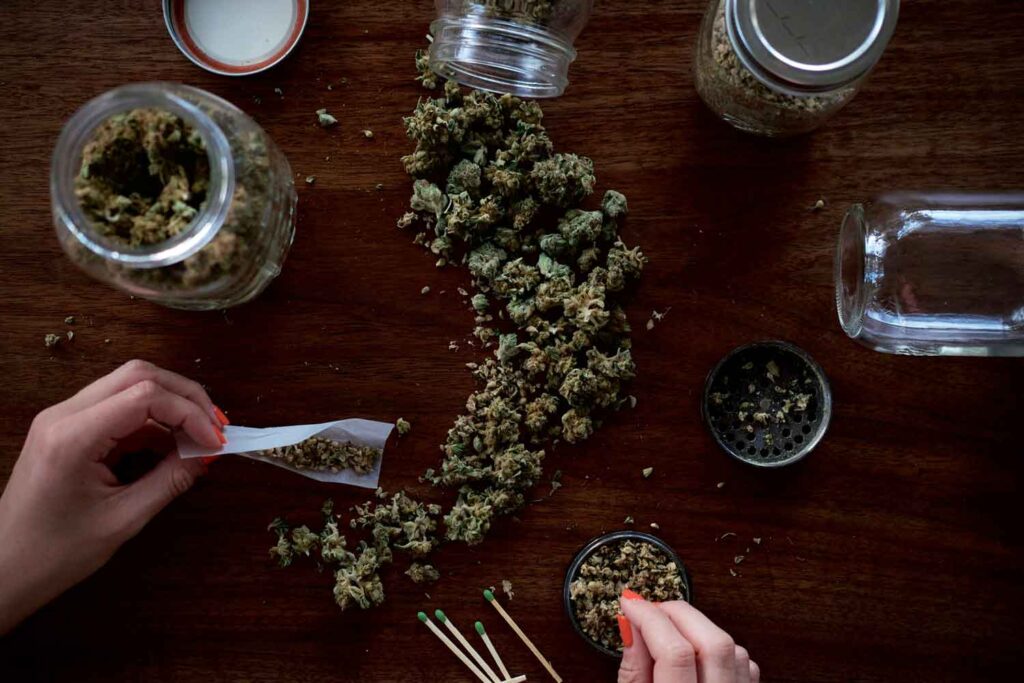
Photo: Unsplash
Gathering Materials
Before we kick off the cleaning party, gather your arsenal of materials:
1. Isopropyl Alcohol
2. Q-tips or Small Brushes
3. Small Bowl or Container
4. Toothpick
5. Paper Towels
Disassembly
Dismantling your grinder may seem daunting, but fear not! Gently unscrew each section, laying out the components like puzzle pieces.
Precleaning Steps: Shake, Freeze, and Release
Before the deep dive into the alcohol bath, let’s shake off the easy bits. Hold each piece firmly and give your grinder a few hearty shakes. Watch as loosely stuck weed residue makes its grand exit.
For an extra boost in loosening those stubborn particles, consider placing your grinder in the freezer for about 10–15 minutes. The cold temperature can make the residue brittle, allowing for easier removal. It’s like giving your grinder a chilly wake-up call before the refreshing alcohol bath.
You can also use Q-tips to dislodge any remaining resin delicately.
Soaking the Grinder Parts
Place the parts in a container and pour the alcohol until fully submerged. Allow them to sit for 15-20 minutes before moving to the next step.
Scrubbing and Brushing: The Art of Precision Cleaning
It’s time to bring out the brushes and get into the intricate details. Use a toothpick to scrape away any residual gunk. Continue the dance with Q-tips, ensuring each crevice gets its moment in the spotlight.
Then, use small brushes for a thorough scrub, ensuring no residue is left untouched.
Safety Reminder
While you’re in the midst of precision cleaning with isopropyl alcohol, it’s crucial to prioritize safety. Avoid open flames during this process, as isopropyl alcohol is highly flammable. This precaution ensures your cleaning adventure remains a harmonious symphony without any unexpected sparks.
Rinse and Dry: Bid Adieu to Alcohol Residue
A gentle rinse under warm water will remove any remaining alcohol residue. Then, lay each piece out to air dry, letting them revel in the breeze of their newfound cleanliness.
Assemble and Grind Weed for a Clean, Smooth Smoke
With your grinder pieces gleaming, it’s time to put them back together. Carefully piece your grinder together, enjoying the satisfying clicks and twists.
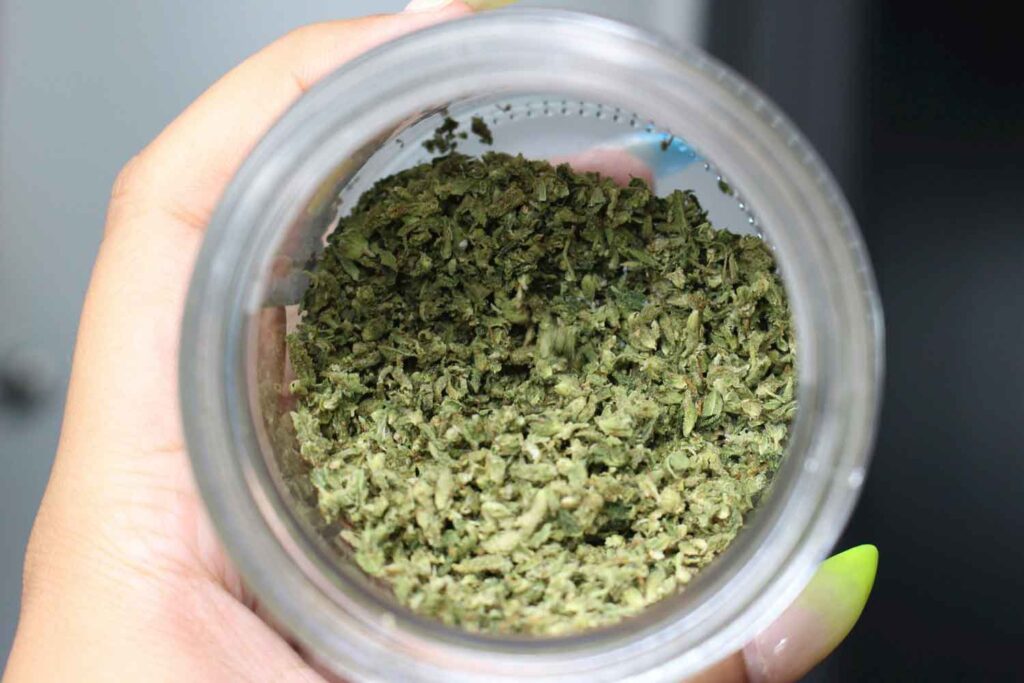
Your now-pristine grinder is ready to grind your weed for the next session.
Maintenance Tips: Sustaining the Sparkle
To keep that shine everlasting, here are some maintenance tips:
Regular Cleaning
Make grinder cleaning a routine to prevent buildup. The cleaning frequency depends on how often you use your grinder. If you use the grinder throughout the week, you may have to deep clean it at least once per week or twice a month.
Lubricate Moving Parts
Just like any finely tuned machinery, your grinder’s moving parts benefit from a touch of lubrication. Use a small amount of food-grade lubricant on the moving parts to ensure smooth and effortless rotations. This step can significantly extend the life of your grinder.
Use Quality Cannabis
High-quality weed tends to have a better moisture content. Hence, grinding weed into a fine consistency will be easier, preventing jamming. Also, quality cannabis produces smooth and clean smoke, elevating the whole experience.
A Toast to Clean Grinds and Safety
Farewell to the residue, welcome to freshness. You’ve successfully embarked on a mission of grinder redemption, transforming what used to be a sticky situation into a gleaming spectacle. Your grinder now represents your dedication to clean, smooth tokes in solo and group sessions alike.

